Lamborghini Urus dashcam professional installation

Introduction
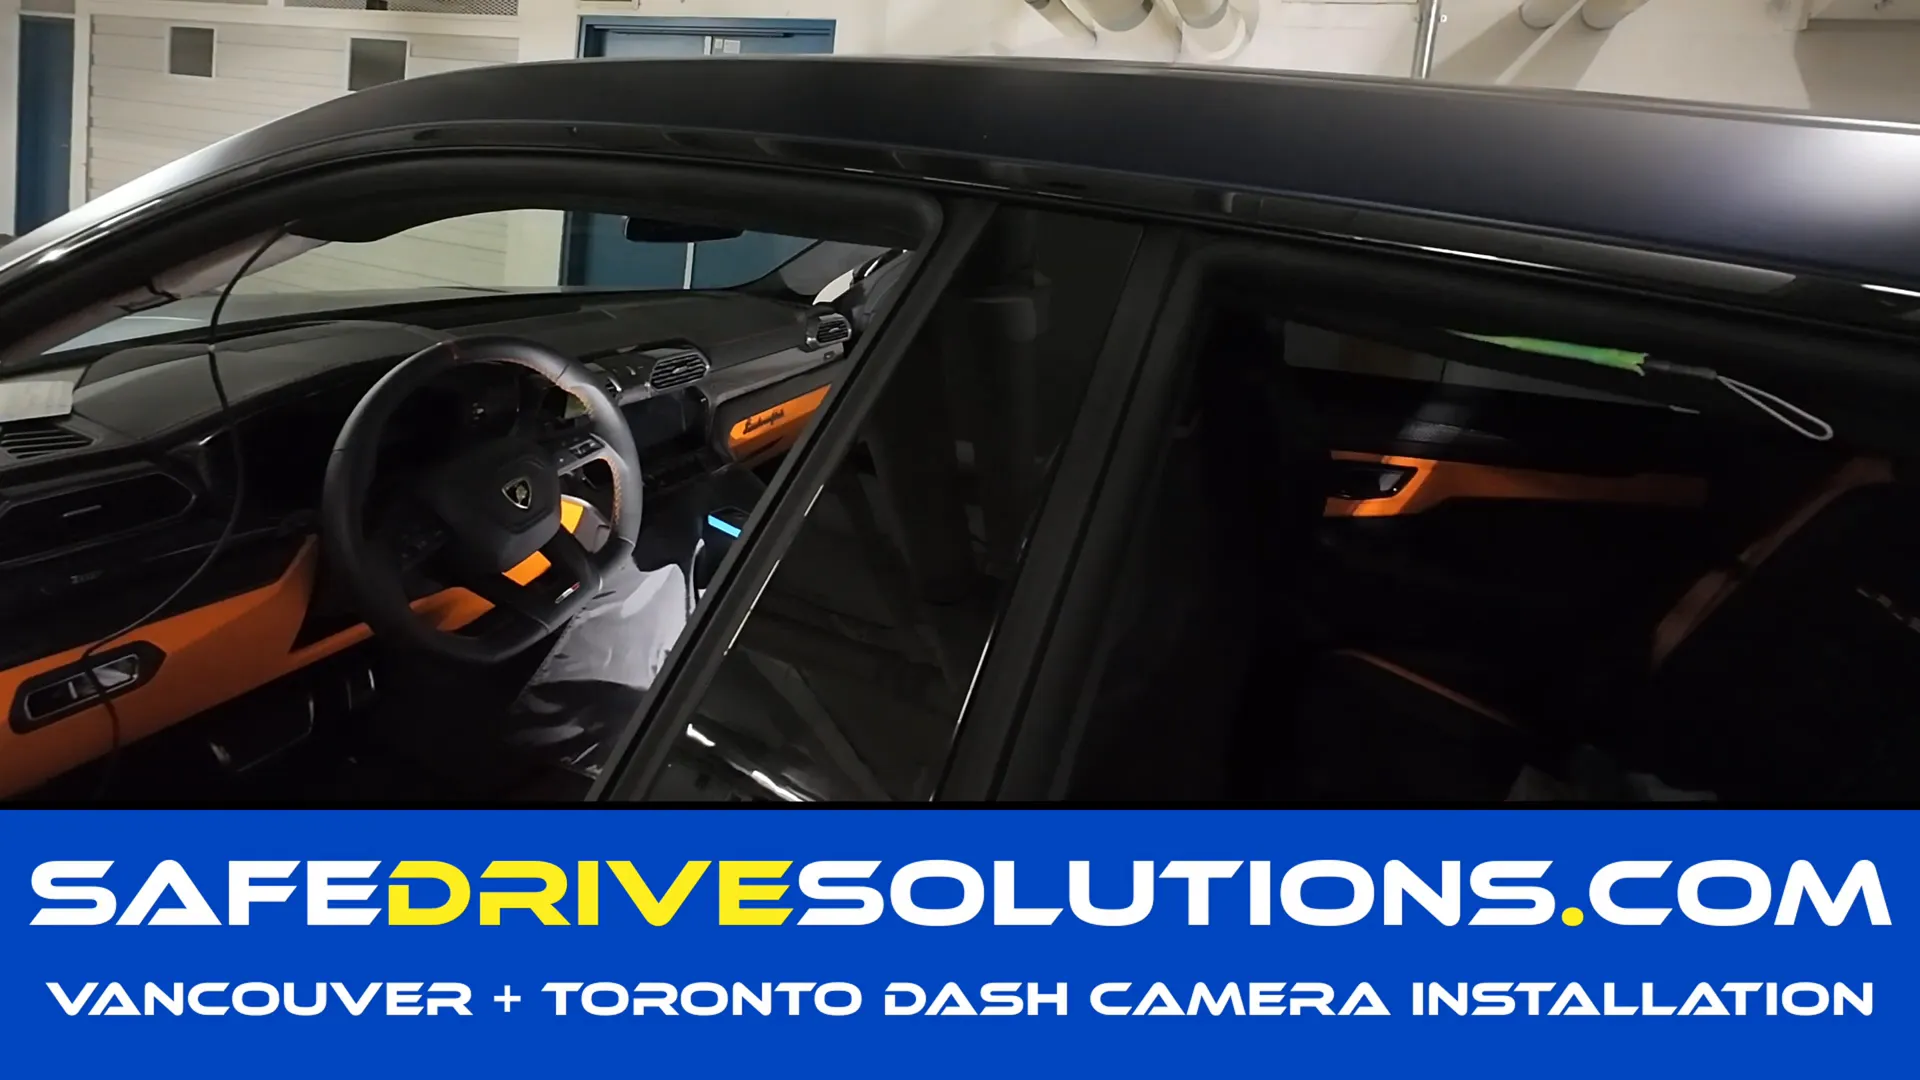
I'm Ben with Safe Drive Solutions — Dash Cam Specialists — and in this guide I'll walk you through a professional front-and-rear dash camera install on a 2023 Lamborghini Urus. I’ll show how we protect the interior, remove the mirror housing and A-pillar, route wiring safely past airbags, fish the rear cable into the hatch, and hardwire the camera so it behaves like factory equipment.
What we prepare first
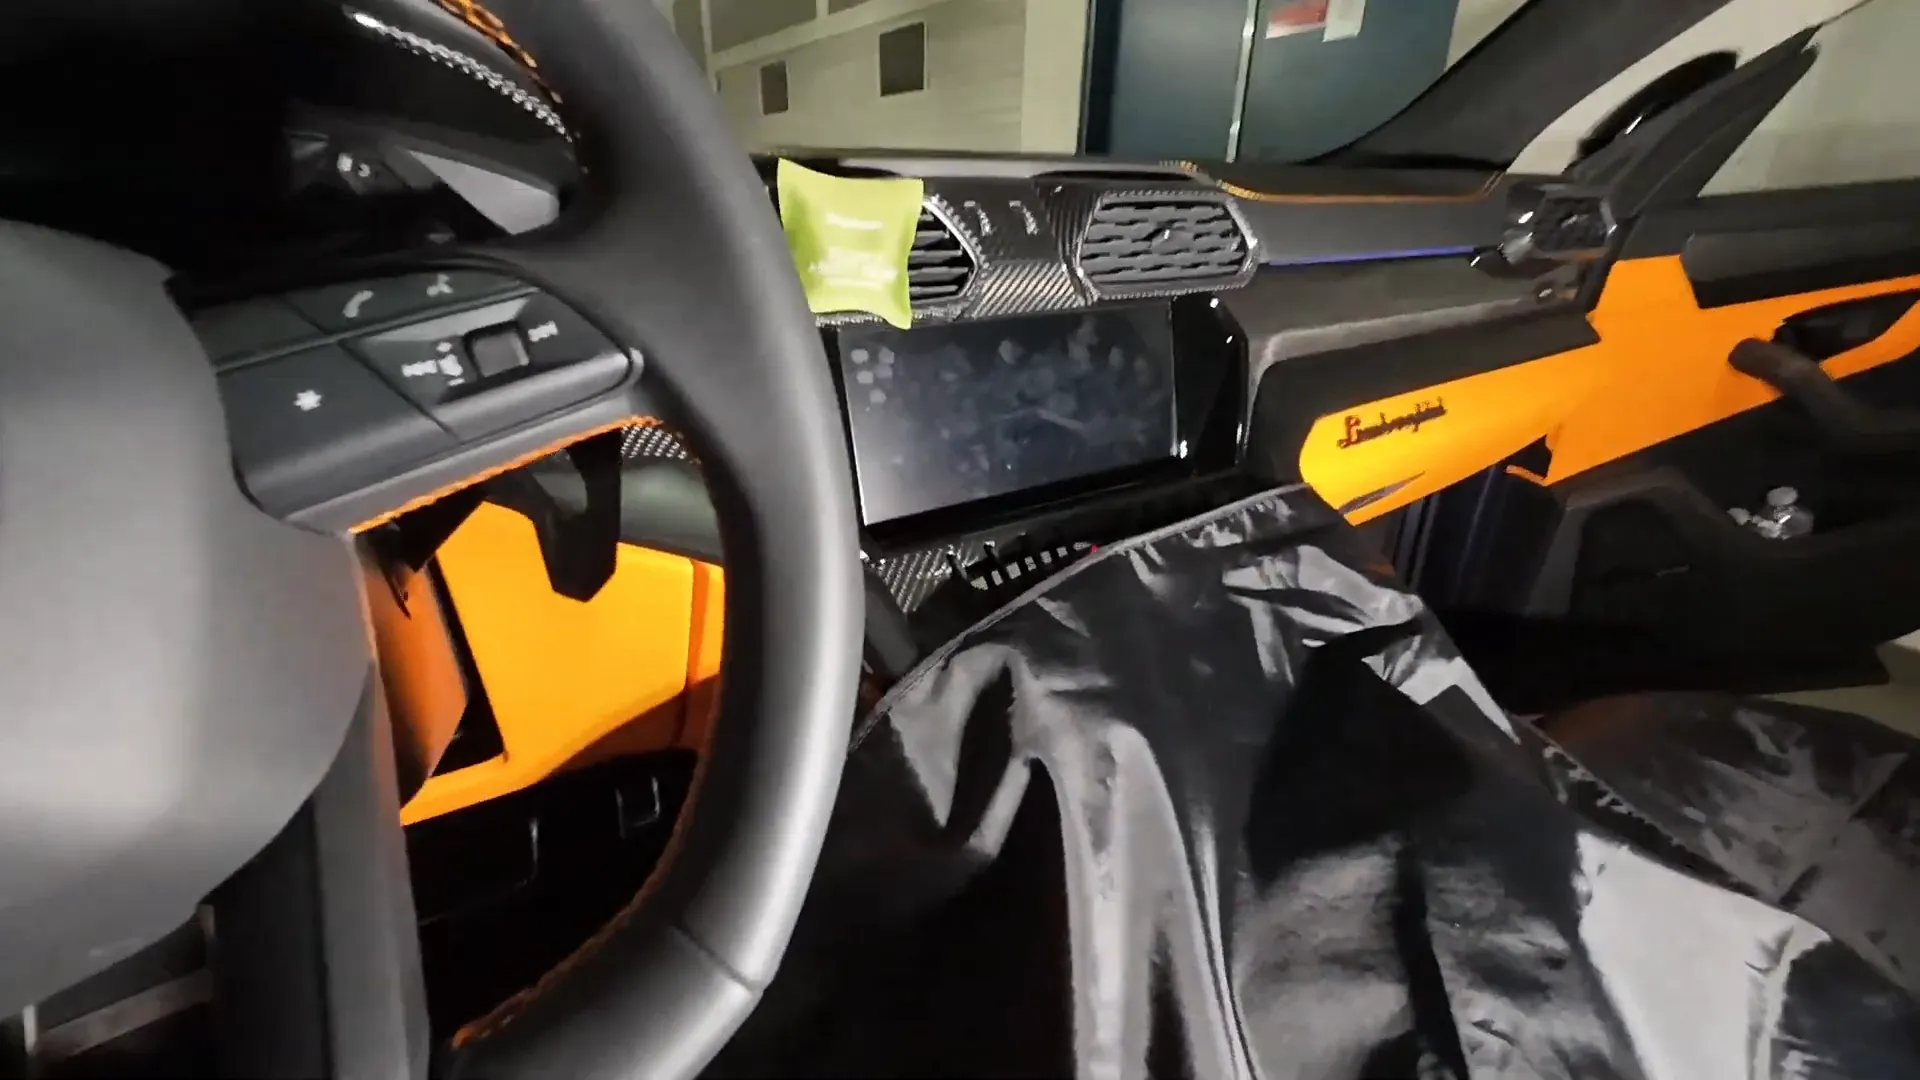
Before touching any trim, we always protect the vehicle. Covers go over the seats and center console so tools and movement won’t scratch anything.
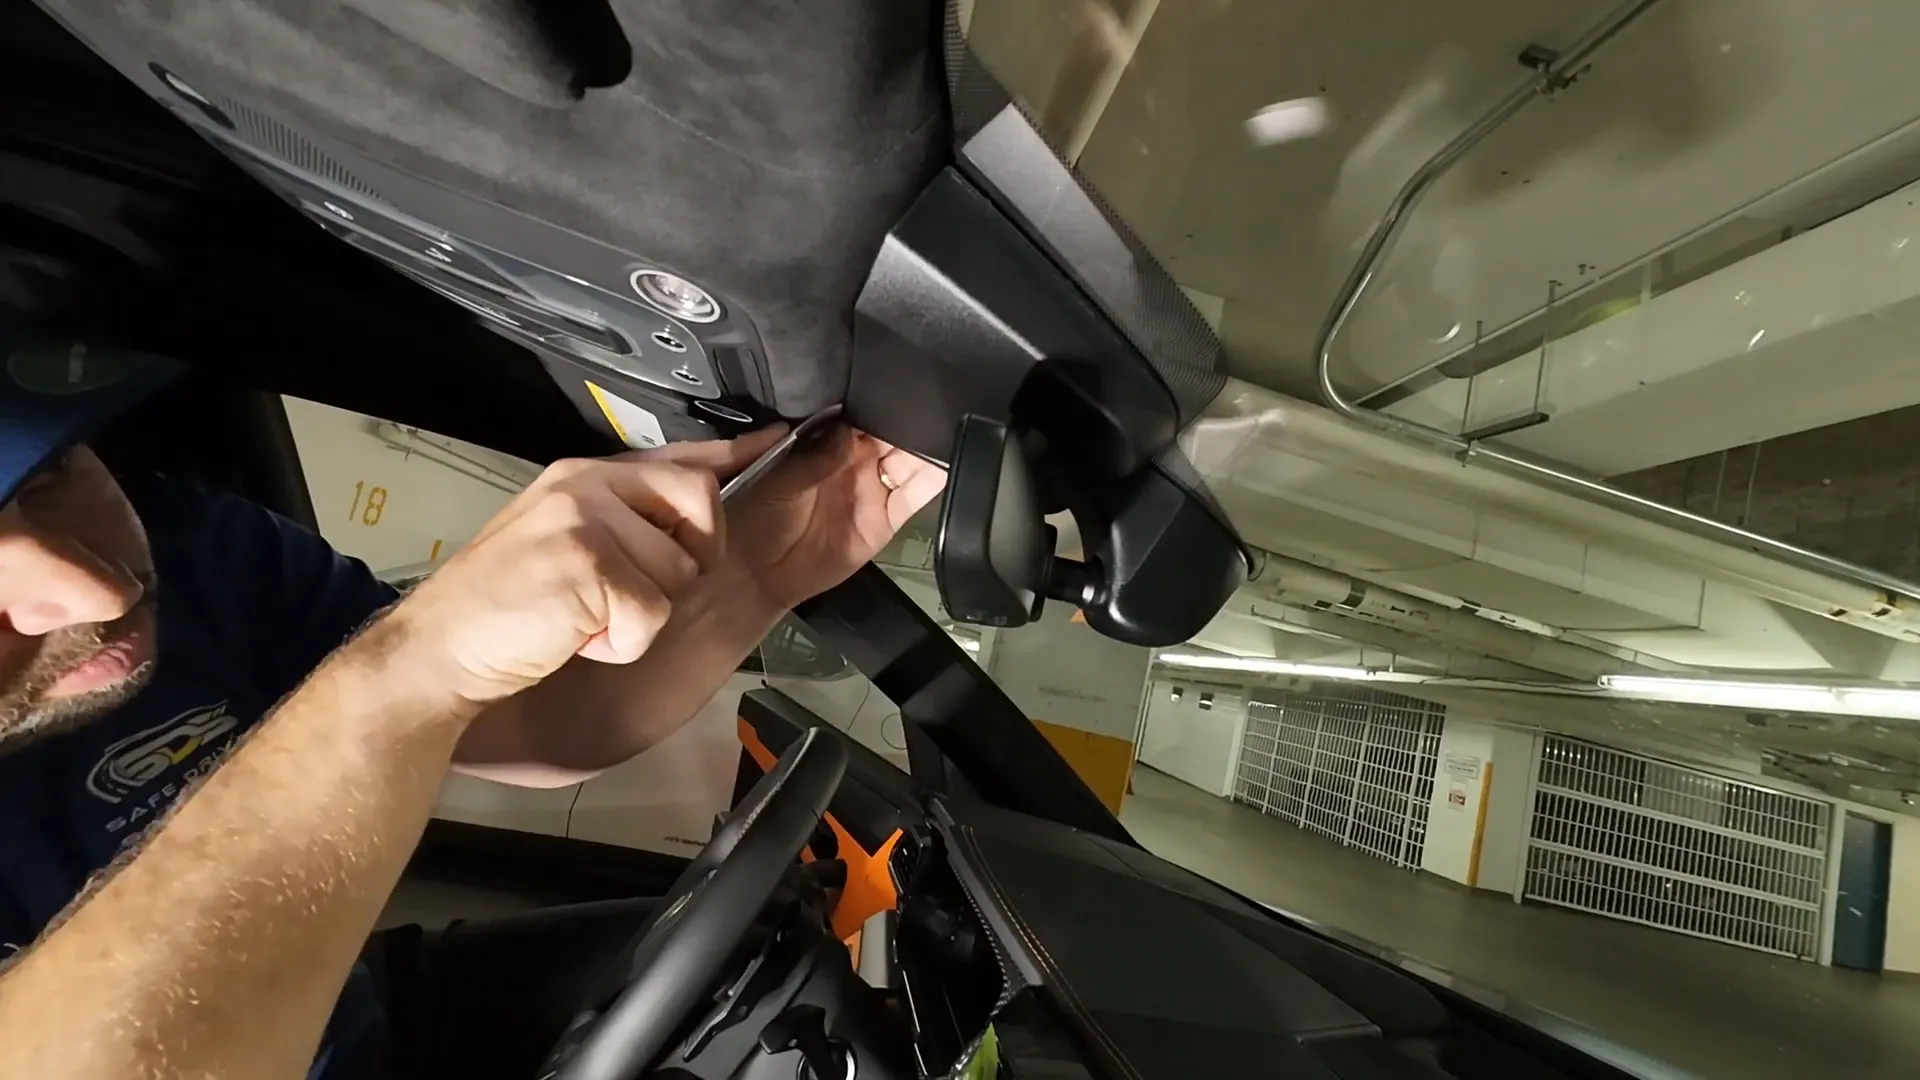
Removing the housing behind the rearview mirror
We start behind the mirror. I use a 4140 metal trim tool because it's more rigid than plastic panel poppers — it gives precise leverage without flexing. There are pressure points on the sides to loosen first, then two center tabs above the mirror that must be released to free the housing.
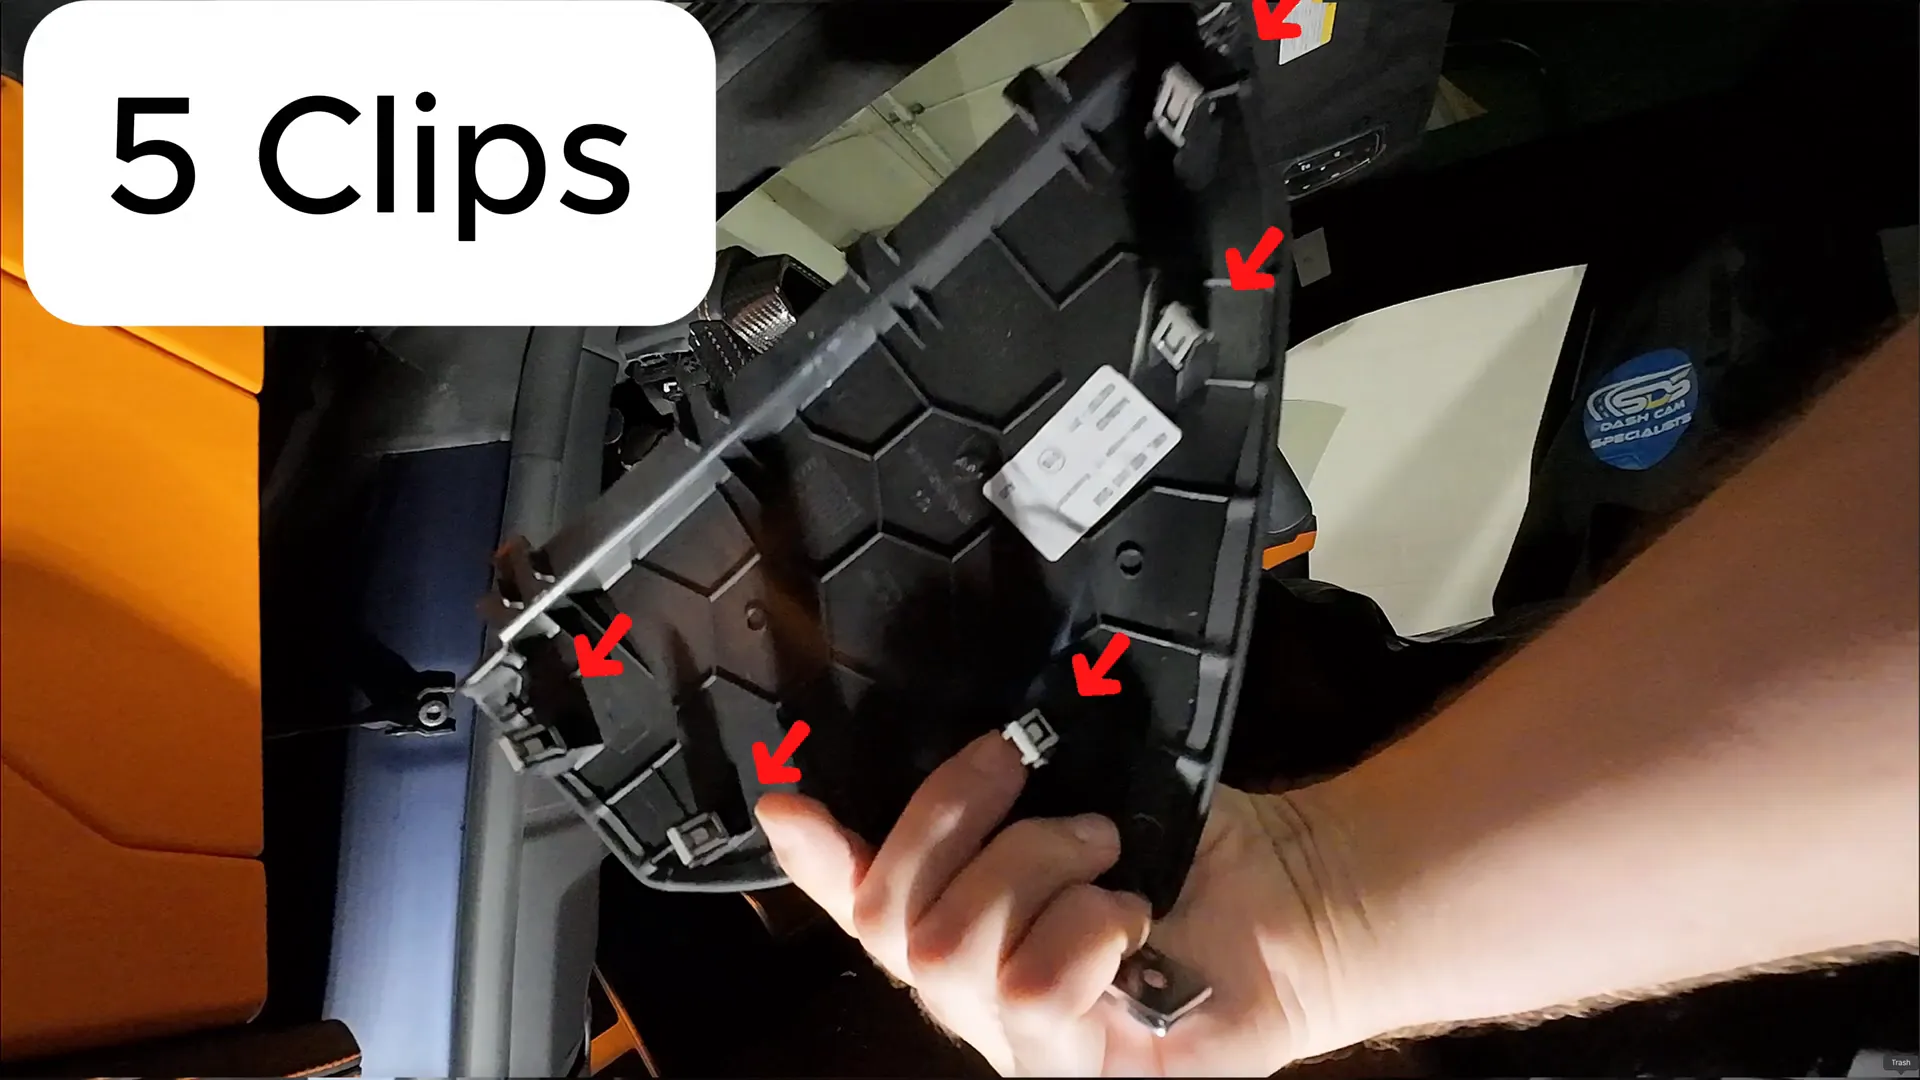
Side dash panel and A-pillar removal (careful around airbags)
Next we pop the side dash panel. There are five clips on the backside; a panel popper releases them cleanly. Removing the small trim that overlaps the A-pillar makes the pillar easier to remove.
The A-pillar on higher-end cars like this Urus, certain Audis and Porsches, doesn't just pull off. You'll see an internal clip that needs to be massaged up and down to slide downward and unhook from a metal knob behind the airbag. I used a long hook to move that clip; if you're DIYing, use a non-metal tool and be extremely cautious — you’re working right beside the airbag.

Choosing the dashcam mount location
With trim off we test potential mounting spots for the Viofo A229 Pro. Common choices are:
- High, passenger-side, up against the headliner (our pick)
- Low, behind the rearview mirror
- Driver-side offset
We typically prefer high passenger-side so the camera is less distracting and has a clean field of view.

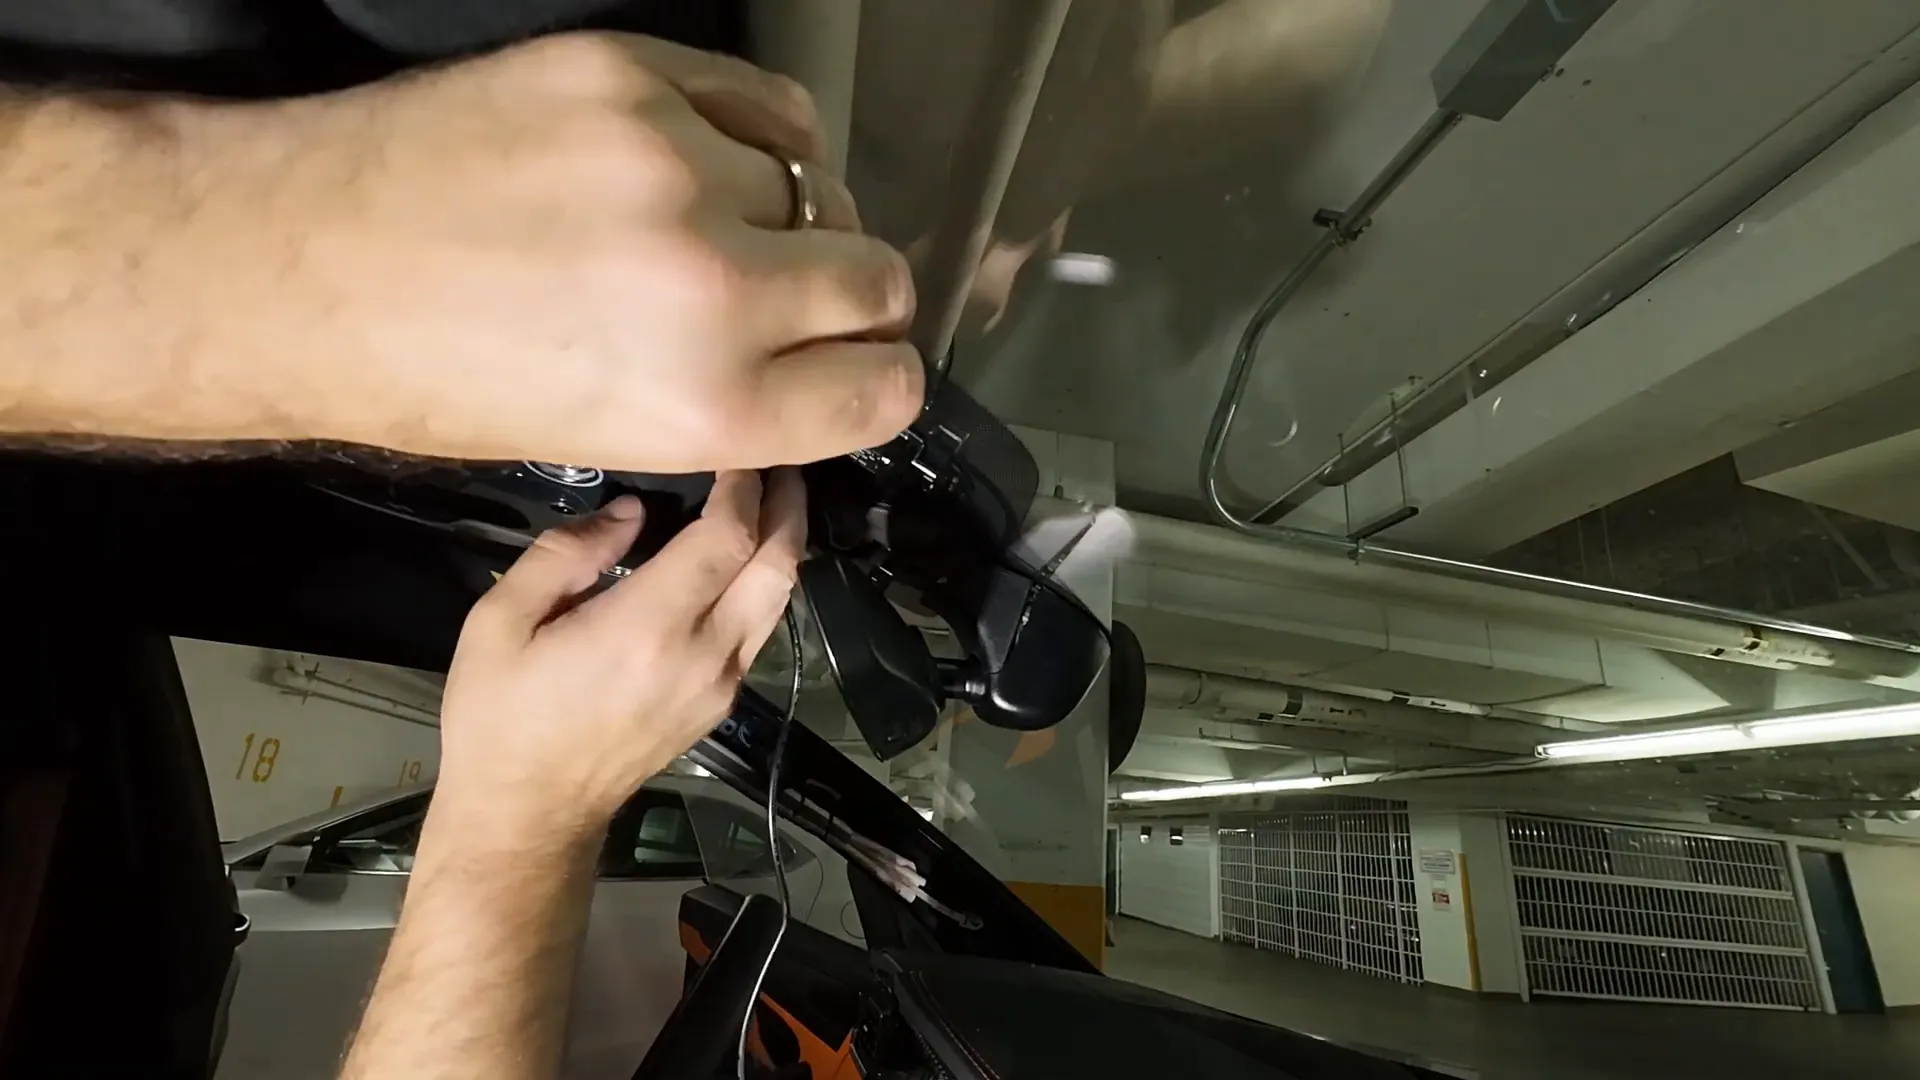
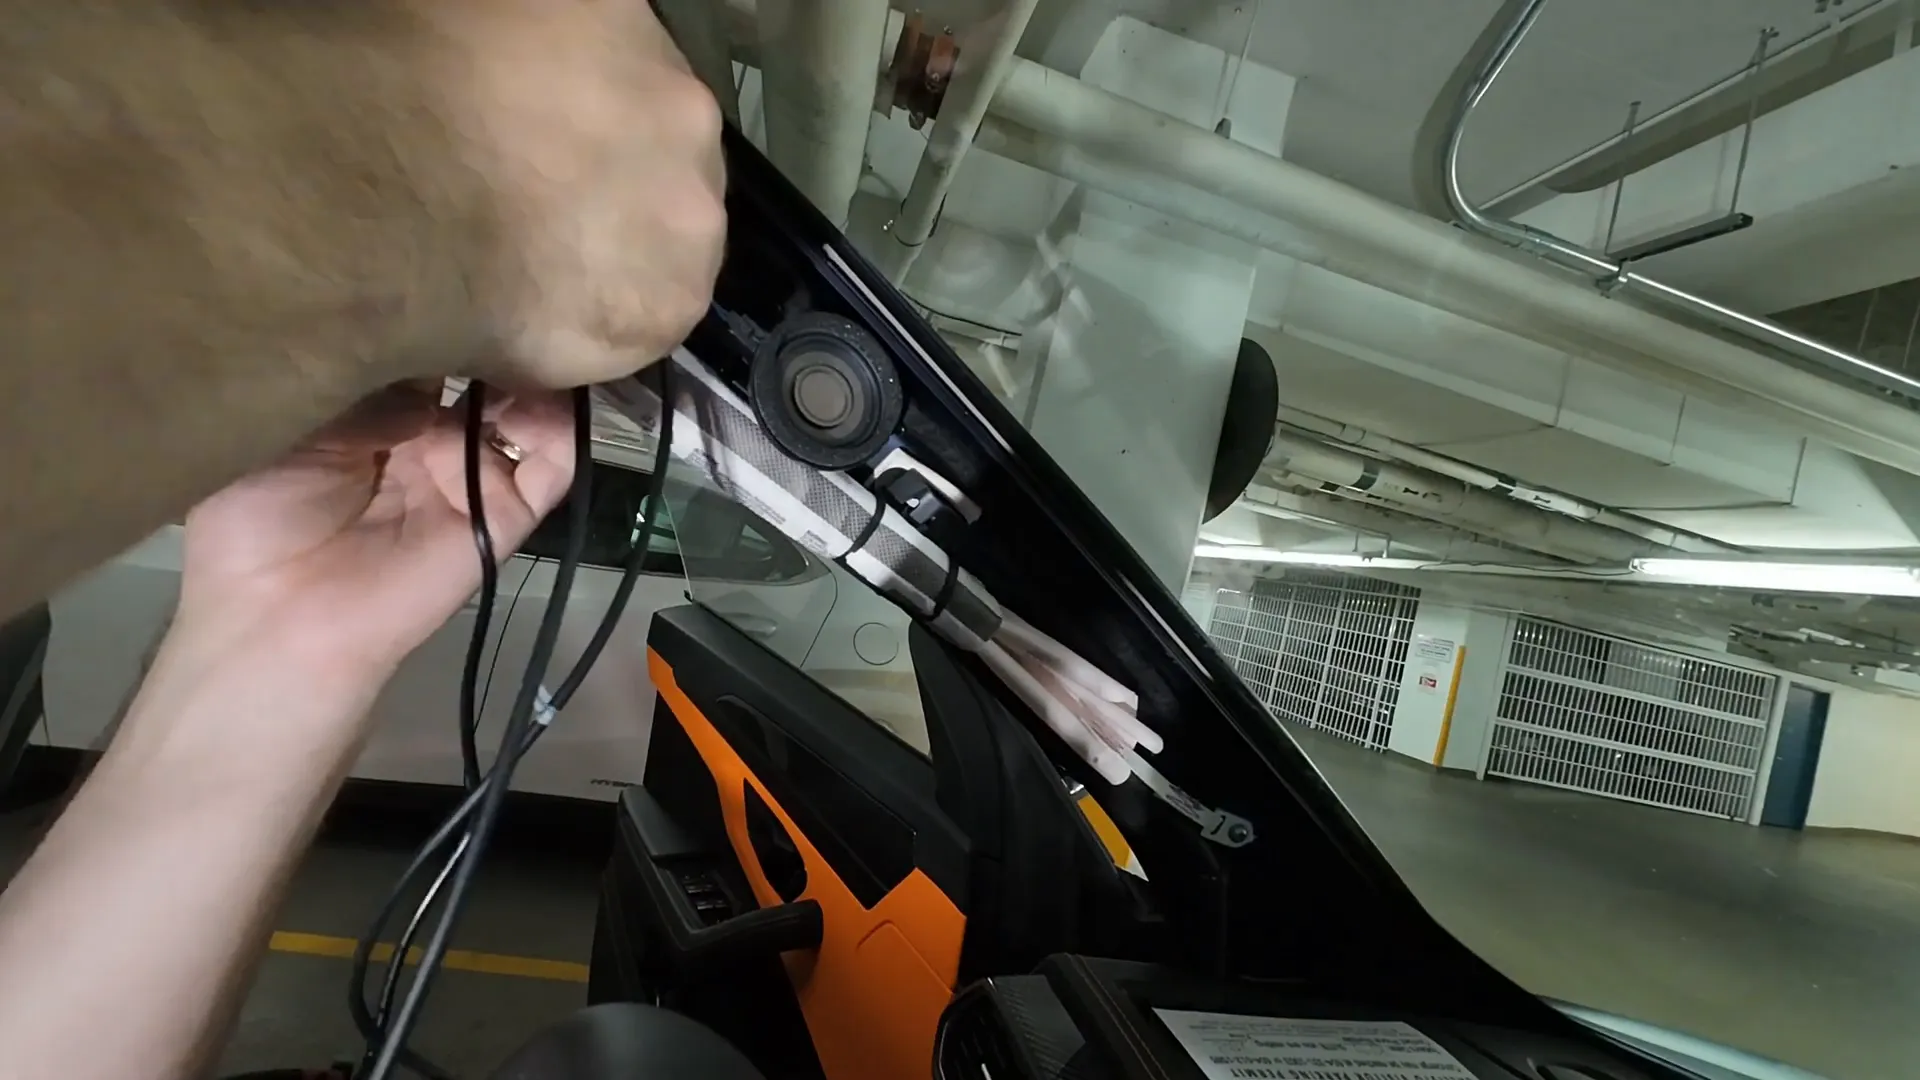
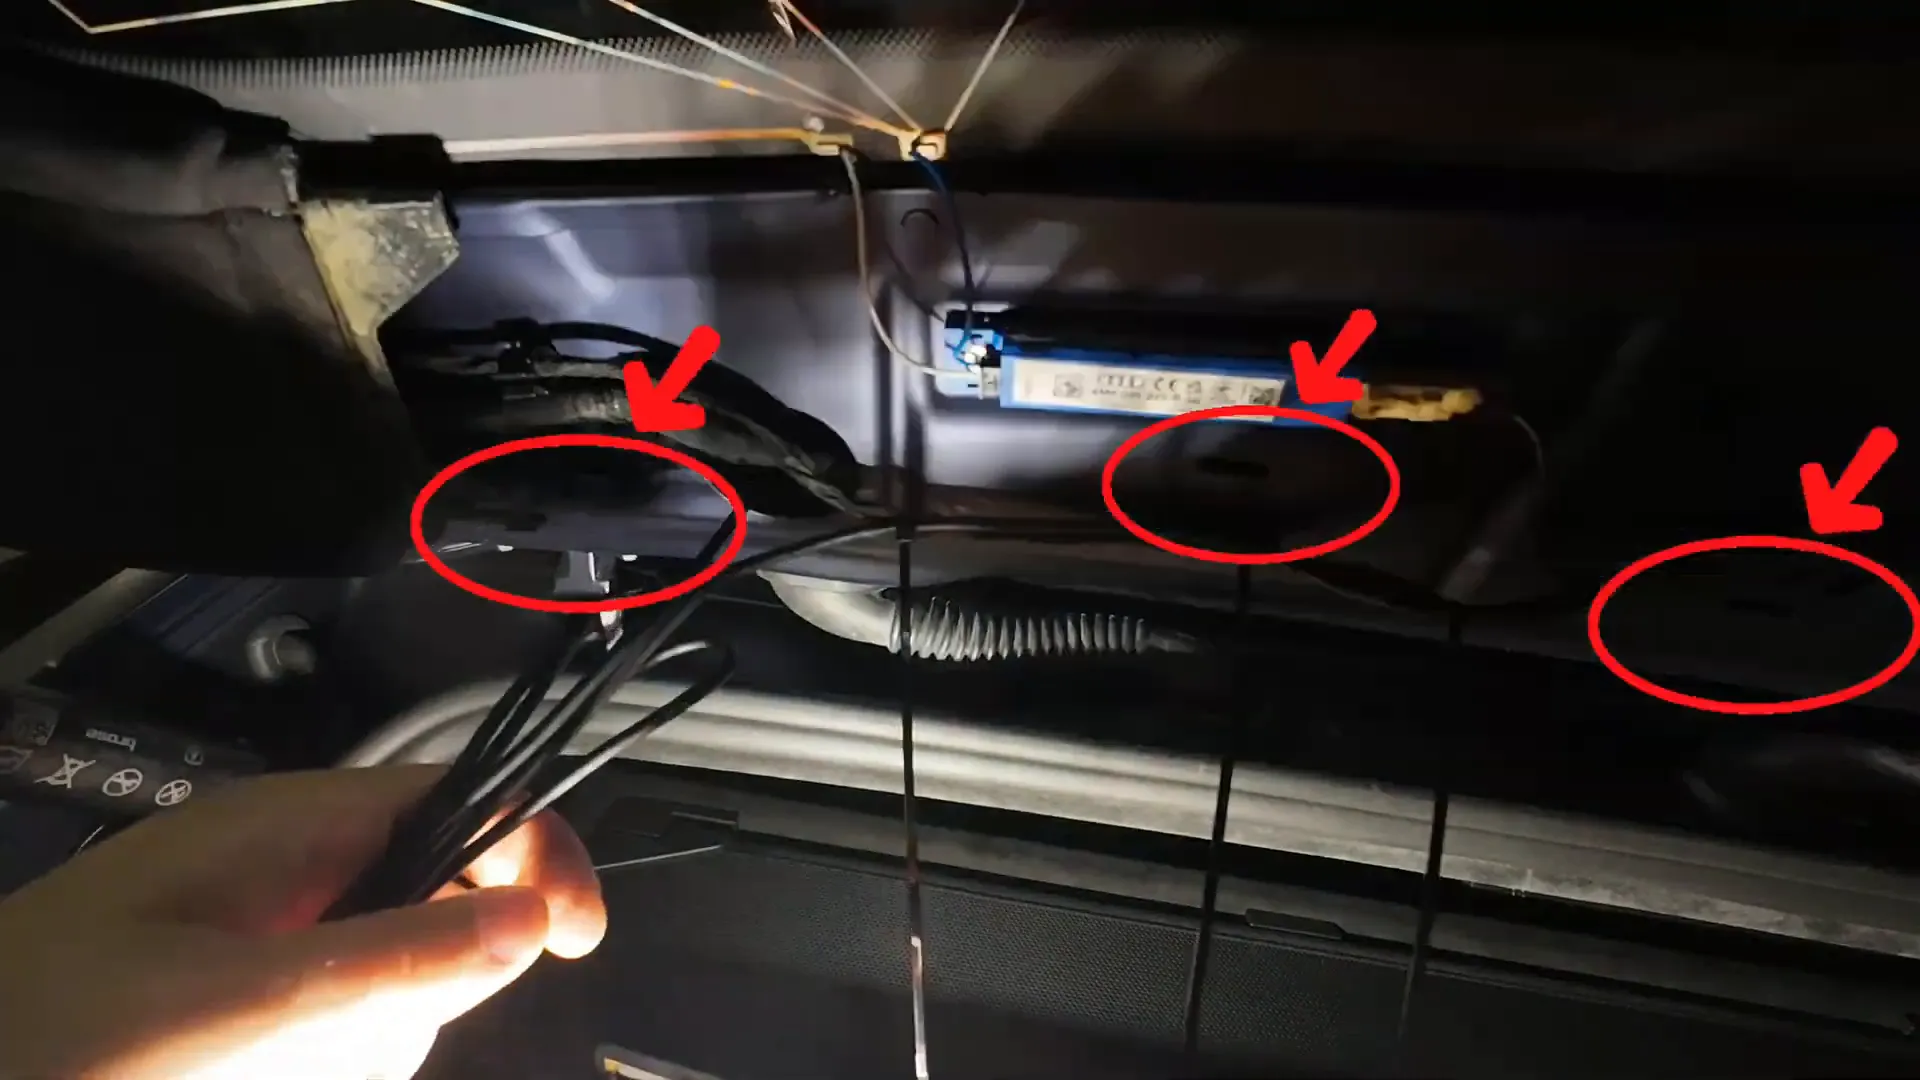
Running and hiding the cables (headliner and airbags)
These headliners are tight — same family as Audi, Volkswagen and Porsche — and it takes experience to tuck cables without damaging fabric or trim. We used the Viofo HK4 hardwire cable which is slim and easier to hide. Clip-by-clip, we tucked the cable into the headliner and left everything looking factory.
When routing the rear camera cable and power cable toward the back, we always secure them to factory wiring behind the airbag with tie-straps. This keeps everything solid, prevents anything from sitting in front of the airbag, and protects the wiring from rubbing.
Safety reminder: never leave wires draped across the airbag or pinched where the airbag deploys. If you’re unsure, get a professional install — airbags are life-saving components and must not be obstructed.
Fishing the cable into the hatch and rear hatch disassembly
Instead of removing the entire B-pillar in every job, we sometimes use a long, purpose-built fishing tool to run the cable up high along the airbag side. Don’t use a coat hanger or random metal — that risks damaging wiring or trim. We ensure the wires sit away from the airbag lip before tucking them in all the way to the rear.
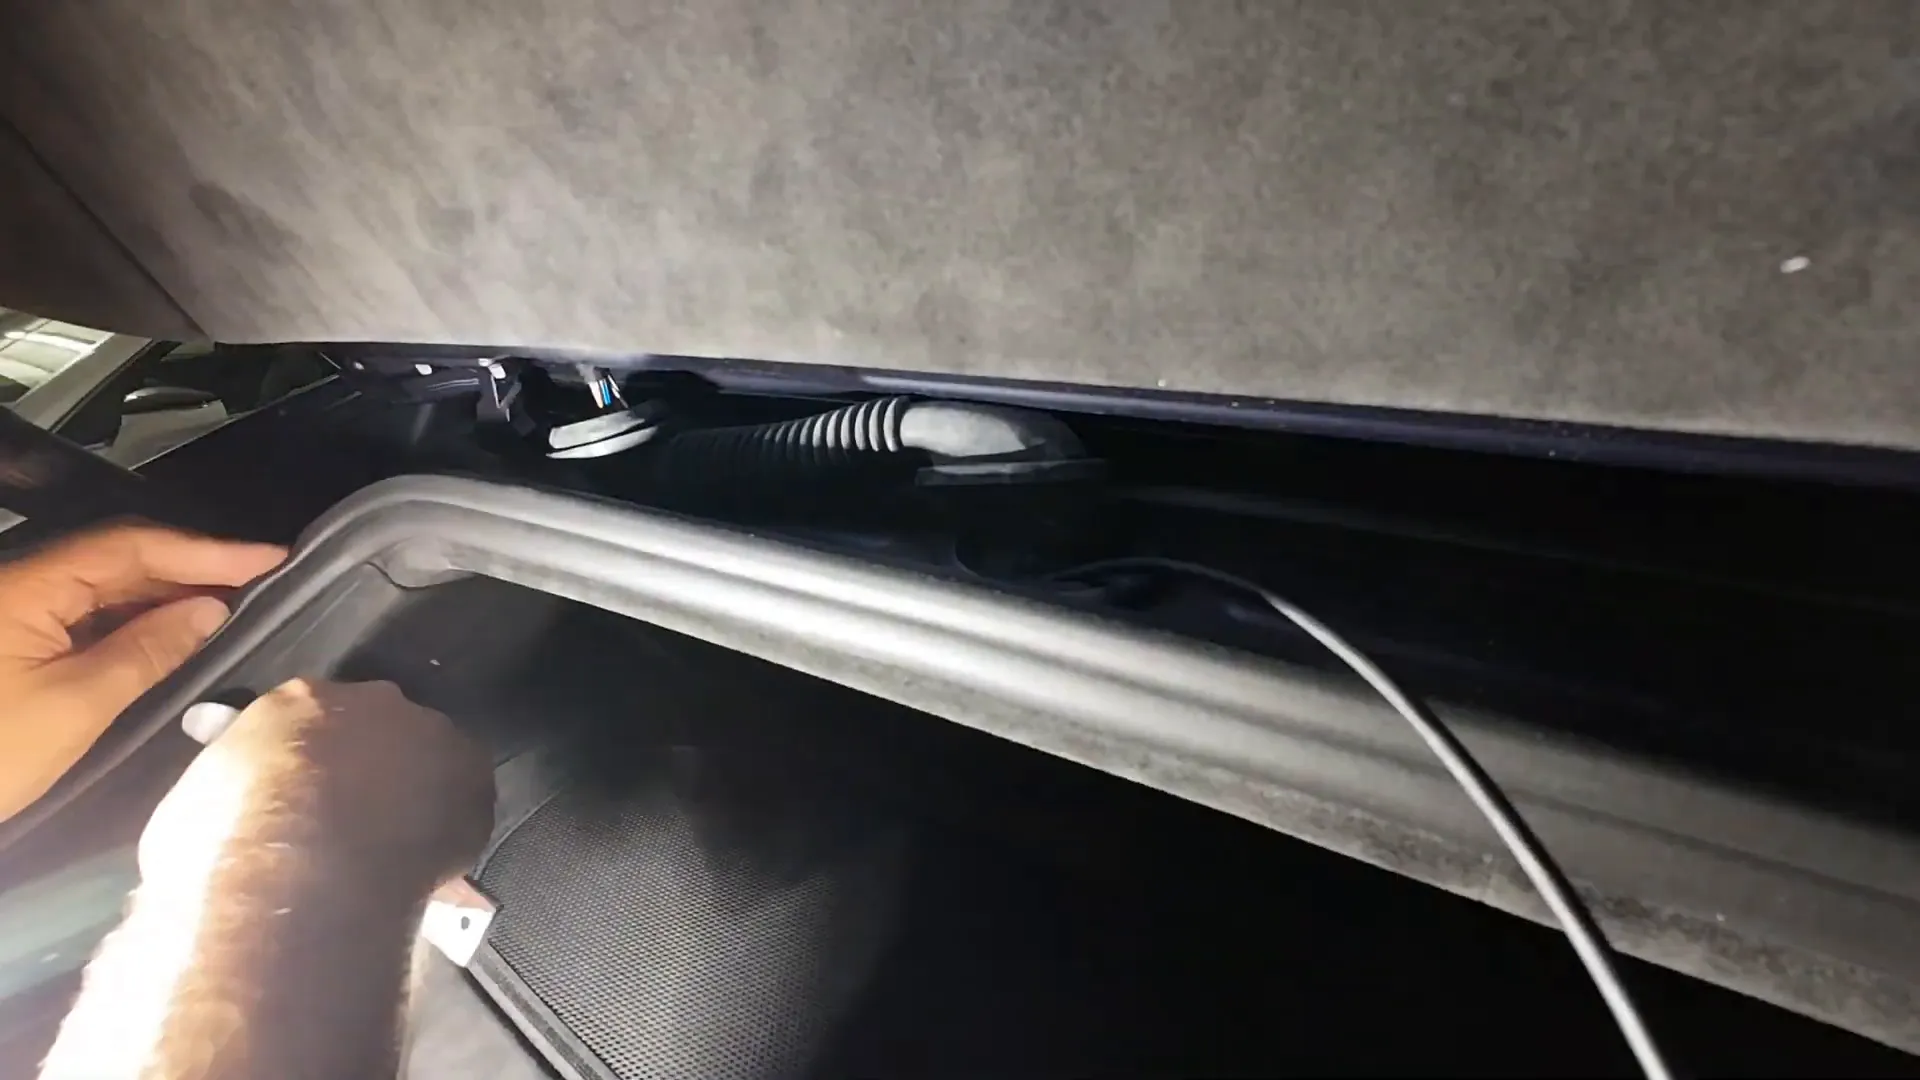
At the hatch, the rubber boot (the rubber conduit between body and hatch) is released with a panel popper and the cable passed through. This boot must be resealed properly so weather like rain does not leak in. The hatch trim on the Urus uses many tight clips that make loud, firm snaps when removed and reinstalled — that’s intentional fto avoid rattles on a high-performance car.
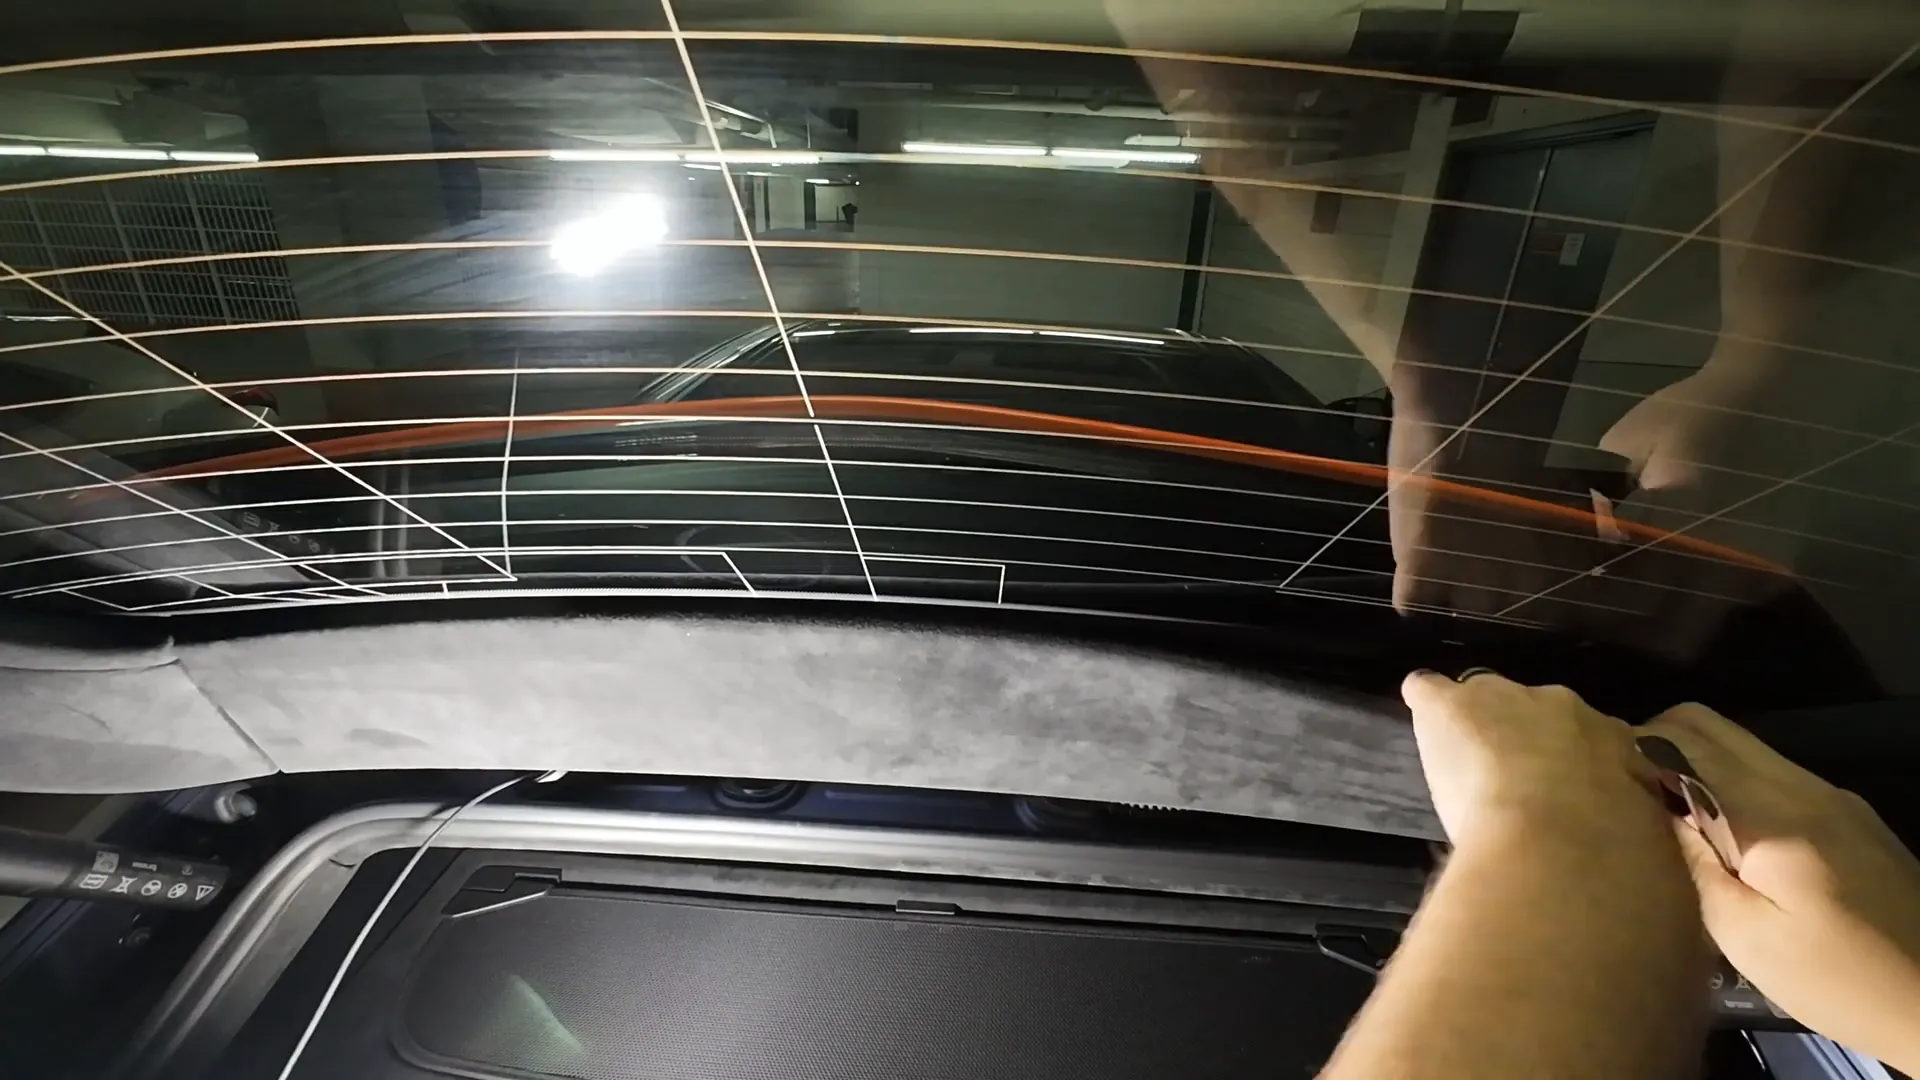
Mounting the rear camera and tidying wiring
Once the cable is inside the hatch we pick the ideal rear-camera location, tie-strap any extra slack to factory harnesses, and secure the camera to the hatch so it won’t interfere with clip locations when panels go back. Reinstalling the panels gives that reassuring, loud clip-back-in feel — everything is tight and rattle-free.
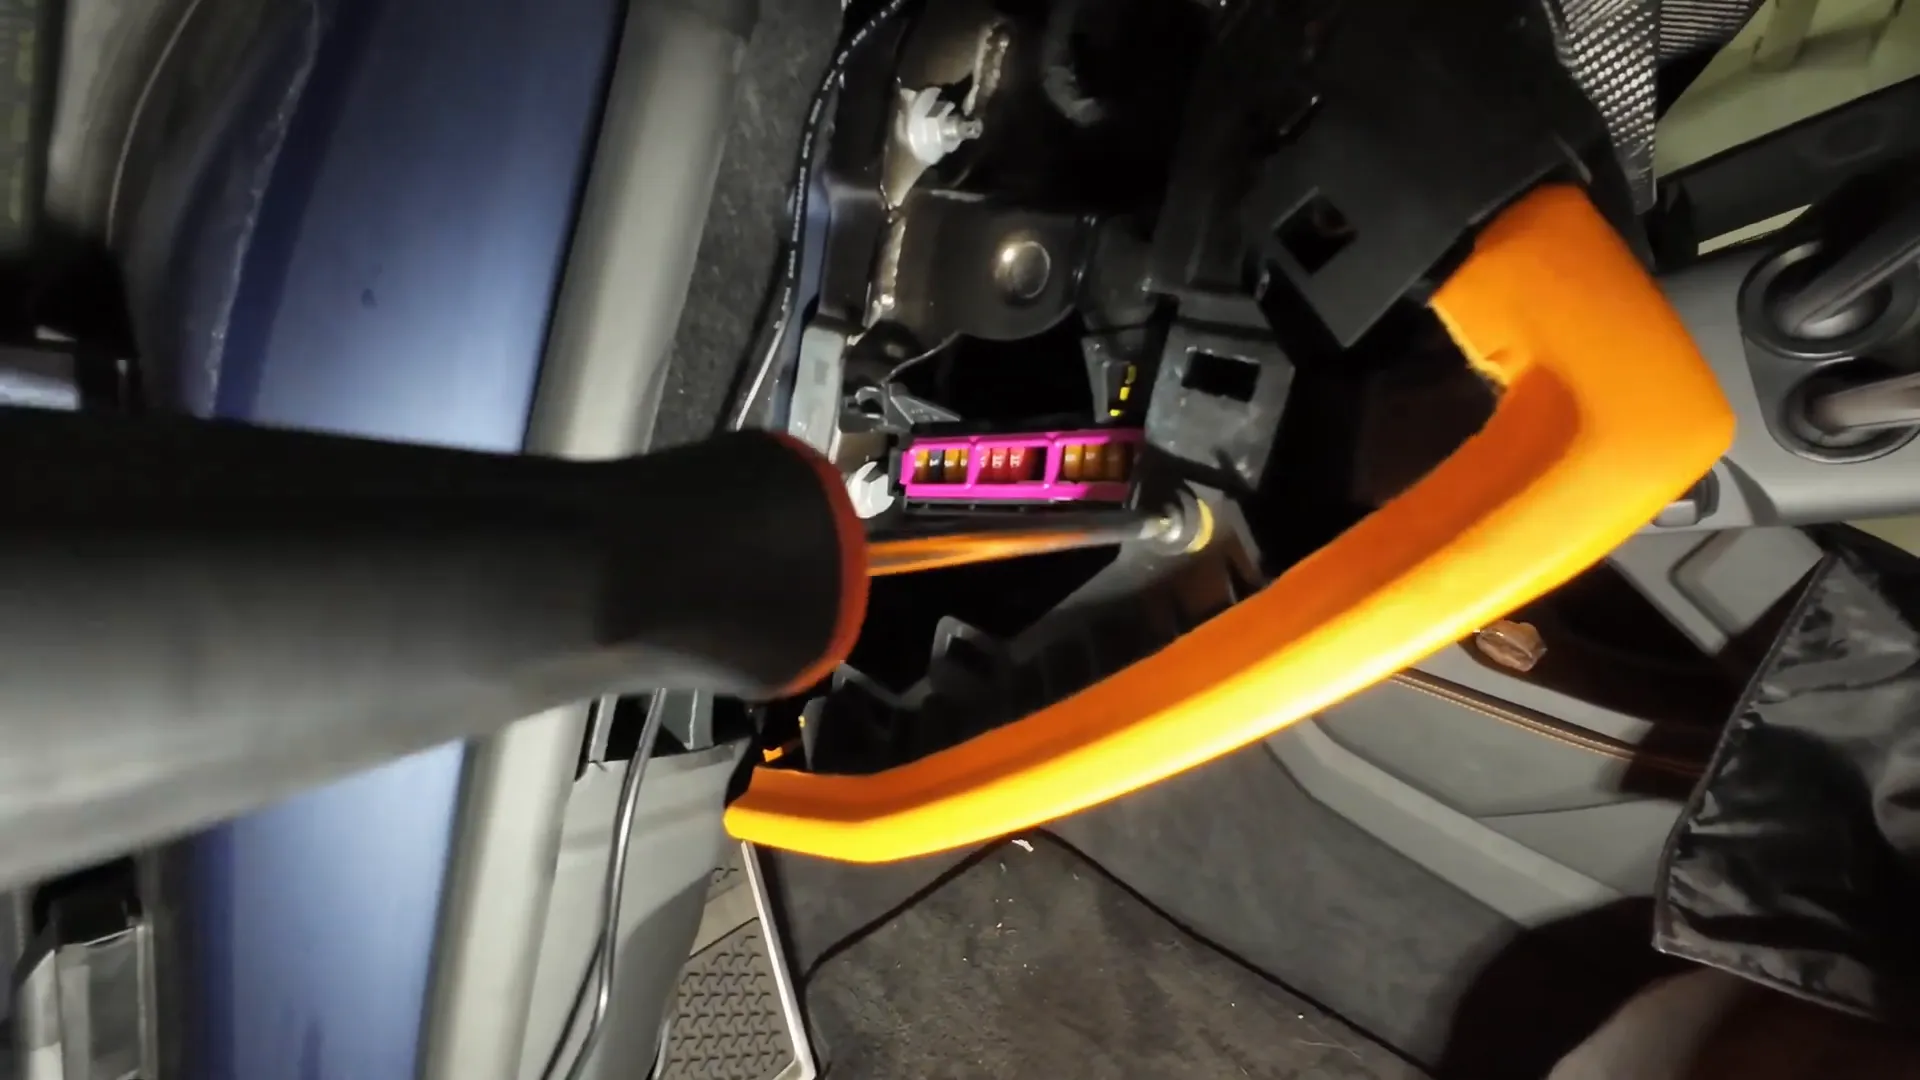
Hardwiring: four practical ways and wiring notes
There are four common options to power the camera in this vehicle:
- Use an OBD2 power cable (quick plug-and-play).
- Remove two Torx fasteners and drop the dash to access the back of the OBD2 port, then hardwire there.
- Access the fusebox near the driver's left foot and hardwire to a switched fuse (we personally avoid fuse taps unless done correctly).
- Pop the underside light and pull slack from the OBD2 port so you can hardwire through that access point.
On Audi/Volkswagen/Porsche-based vehicles (the Urus is heavily related to the Audi R8 family), pinouts are consistent: pin 1 is ignition (ACC), pin 4 is ground, and pin 16 is constant power (battery). Always test before you solder and always protect your splices. We solder and use super 33 3m electrical tape for reliability.
If you prefer plug-and-play, an OBD2 power cable (for example IROAD OBD POWER CABLE) is a clean option. If you want a fully hidden, long-term solution, hardwiring with a quality kit such as the Viofo HK4 is the professional route.
Final fitment, setup and user experience
After trimming and wiring are finished we clean mounting surfaces with alcohol wipes and attach the cameras. On this Urus we installed a front Viofo A229 Pro (mounted high on the passenger side) and a rear A229 Pro 2K on the hatch. The front LCD timeout is adjustable (from as quick as 3 seconds to several minutes) so the screen doesn’t distract the driver.
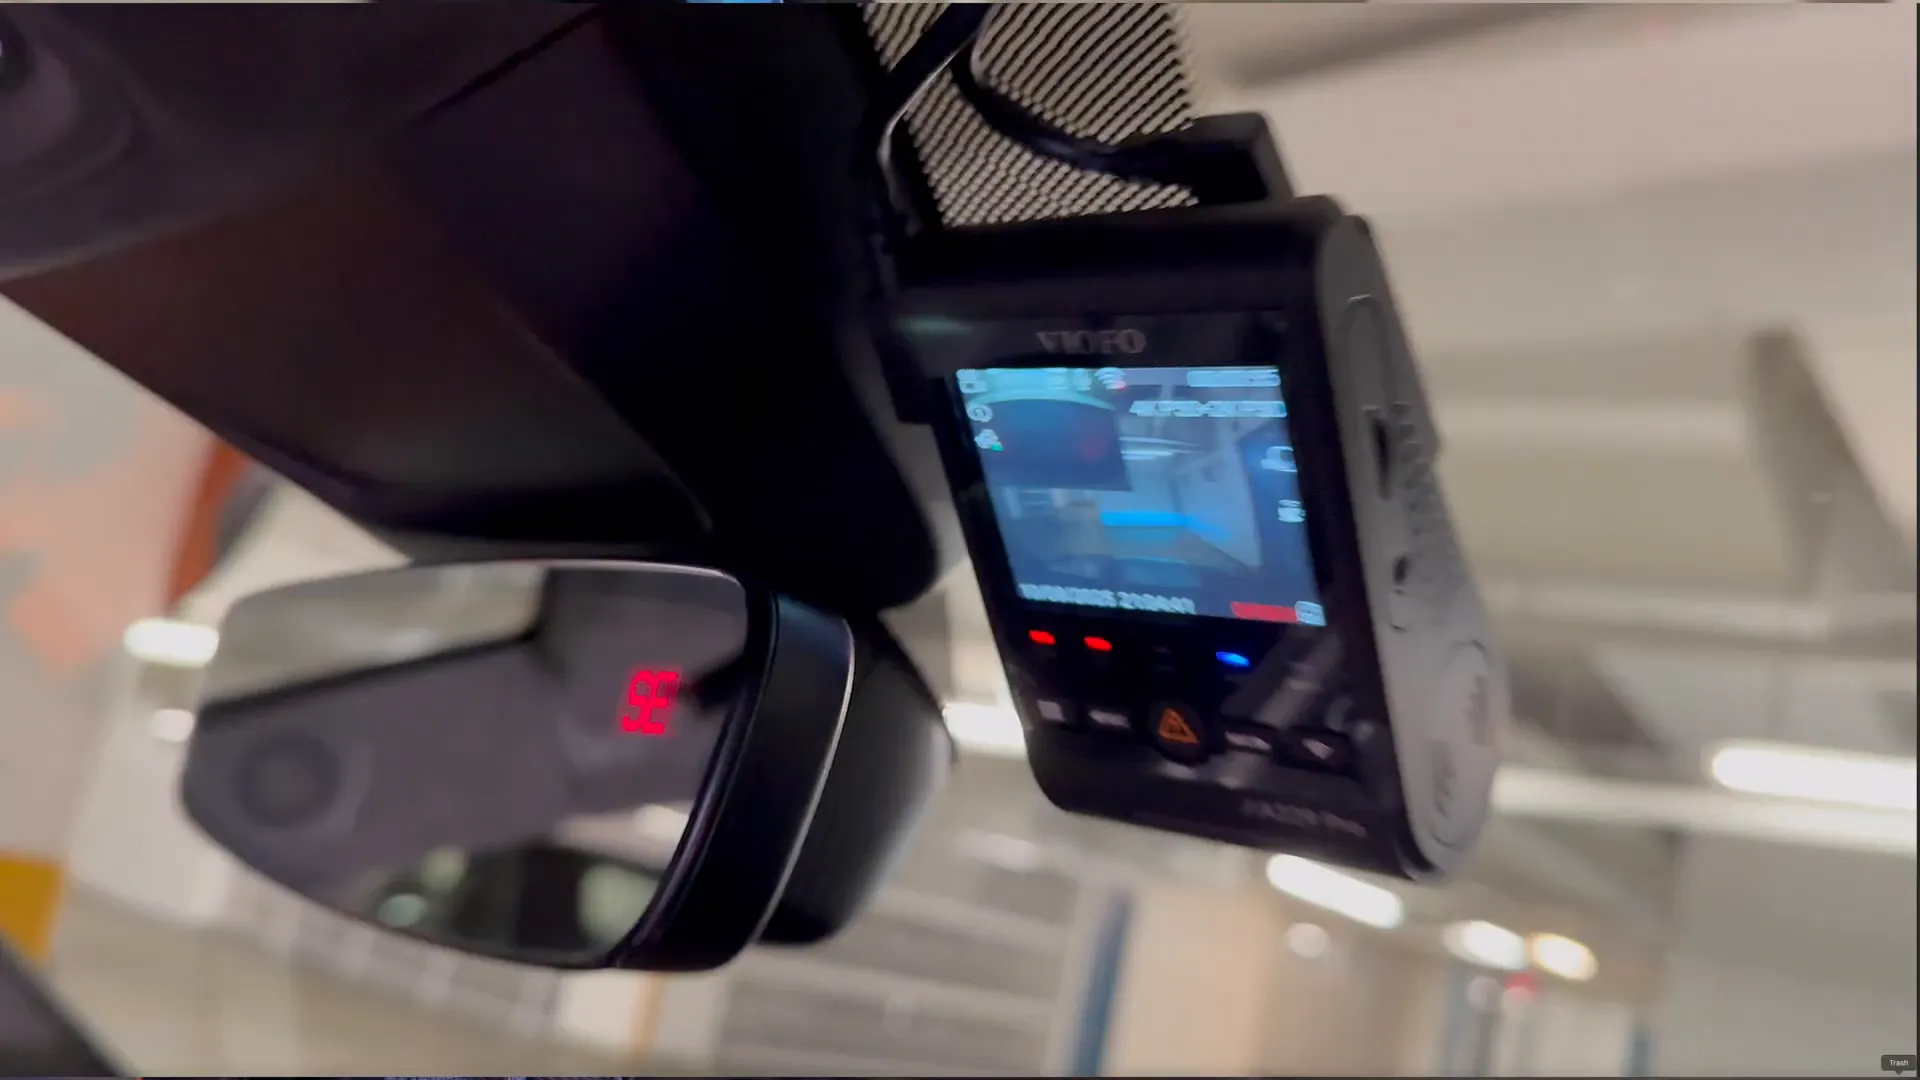
With everything in place the cab retains a factory look and the wiring is completely hidden. The cameras power up and operate just like factory-installed electronics.
Safety tips and recommendations
- Always secure wiring to factory harnesses — never block or tape over airbags.
- Use purpose-built tools. Avoid improvised metal hooks or coat hangers around airbags.
- Test ignition, ground and constant lines before finalizing solder connections.
- If you’re uncomfortable with trim removal or routing near airbags, hire a professional. We offer mobile installs in Greater Vancouver and Greater Toronto.
“We always tie the wiring to factory harnesses and ensure nothing obstructs the airbag.”
Resources and further reading
If you want to learn more or get the install done professionally, check out these pages and products:
- Dash cam installs and mobile service — https://safedrivesolutions.com/pages/dash-cam-installation
- Get a free dashcam quote — https://safedrivesolutions.com/pages/dash-cam-quote
- Viofo A229 Pro product page — https://safedrivesolutions.com/products/viofo-a229-pro-4k-front-rear
- Viofo HK4 hardwire kit — https://safedrivesolutions.com/products/viofo-hk4-hardwire-kit
- IROAD OBD power cable — https://safedrivesolutions.com/products/iroad-obd-power-cable
- Why professional install — https://safedrivesolutions.com/blogs/resources/get-your-dash-cam-professionally-installed
- Dashcam wiring by airbags (best practices) — https://safedrivesolutions.com/blogs/resources/dashcam-wiring-by-airbags-in-a-vehicle
- Dash cam buyers guide and other resources — https://safedrivesolutions.com/blogs/resources
- Shop all dash cams — https://safedrivesolutions.com/collections/shop-dash-cam
Conclusion — final thoughts
The Urus is a tight, premium vehicle that rewards patience and experience during an install. With the right tools, careful routing and respect for airbag systems, you can achieve a clean, factory-looking front-and-rear dashcam setup that gives you reliable evidence and peace of mind.
If you’re in Greater Vancouver or Greater Toronto and want this done right, we’re happy to help. Visit our home page for service areas and contact details: https://safedrivesolutions.com/

